How to Grow Bay Laurel At Home (A Beginner’s Guide)
Have you ever seen the crown from ancient Greek or Roman times? They use leaves and stems. The leaf you see as their crown is a bay laurel leaf.
Popular as a Greek and Roman history, bay laurel is actually a delicate and tasty herb that many people use to elevate their dish’s taste.
For culinary purposes, bay laurel is known for its intense flavor for stew or soup. Usually, people combine bay laurel with thyme, sage, rosemary, and tarragon together and put them into one broth, delicious!
Hence, having it grown in our garden is very beneficial. In this post, we will learn how to grow bay laurel at home. From the soil requirements to taking care of it, let’s dive in.
Bay Laurel Varieties
But before we start planting bay laurel, it’s good to know the varieties of it. There are some bay laurel varieties you can choose based on their characteristics and your hardiness zone.
Laurus nobilis ‘Angustifolia’
Laurus nobilis ‘Angustifolia’ is also famous as willow-leaf laurel. When the plant is pruned, this type would have amazing texture in its narrow leaves.
As for the hardiness, understand that Laurus nobilis ‘Angustifolia’ grows best in warmer temperatures protected from cold winter.
Laurus nobilis ‘Aurea’
The second variety of bay laurel is the ‘Aurea.’ This one also grows best in the warmer hardiness zones protected from cold winter. ‘Aurea’ even requires superior protection in severe winters.
Laurus nobilis ‘Undulata’
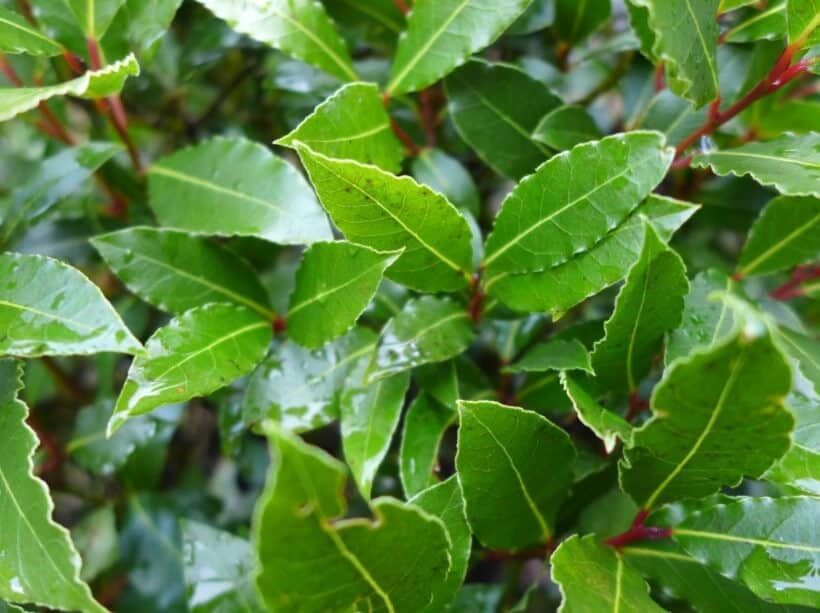
The last common variety of bay laurel is ‘Undulata.’ This one has a pretty wavy and rippled lead edge. That is why you should take this one out before serving your food.
How to Grow Bay Laurel
Now you know the varieties of bay laurel. I guess it’s time for you to learn about bay laurel’s cultivation, starting from the soil until the divisions. There you go!
-
Soil Requirements
Soil is the essential media to plant herbs. As for bay laurel, this herb is very versatile when it comes to soil. Well-drain soil is all it takes to pan bay laurel at your home.
Bay laurel is very easy to adapt to its environment, and it grows tall too! Therefore you need to consider pruning regularly.
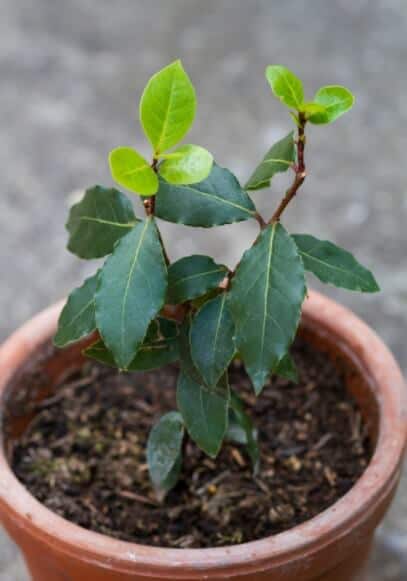
When you transplant the bay laurel plant from a container to the ground in the garden, be mindful of planting it the same death as the previous planting.
-
Sun Requirements
Bay laurel loves full sun exposure, but it still tolerates some shades. Therefore planting bay laurel is best in summer, where the afternoon shade is quite ideal for bay laurel’s growth.
If you want to grow bay laurel indoors, you need to place the container in the sunniest spot in the house. All bay laurel is best to be indoors when the temperature drops, though.
-
Hardiness
Bay laurel is one of the herbs that are winter hardy in 8 to 11 of USDA hardiness zone. Therefore you’d better grow bay laurel in a container to keep it later when winter.
The temperature inside the room also affects the growth of the bay laurel. The plant may drop some leaves in very low humidity. That is okay, though. You can use the falling leaves for your food.
-
Water
Remember that the root of bay laurel is very short. You need to frequently water the plant during dry spells. Water your bay laurel plants regularly, but always let the soil dry out after you finish watering.
Sma watering rules for herbs applied here, never overwater the soil of your herbs plants. Otherwise, your bay laurel will suffer root rot.
-
Fertilizer
Straight to the point, bay laurel needs some organic fertilizers like kelp or fish emulsion for its nutrient. That is because bay laurel is a slow-growing herb, to begin with.
However, be mindful not to hurt the shallow roots when you give the liquid to the soil.
-
Mulch
Mulch is sometimes necessary in some cases of the plants, including some herbs. It covers the soil made of sawdust or compost to reduce evaporation, maintain the temperature, control weeds, and enrich the soil.
Does bay laurel need mulching? Well, mulching will help bay laurel to grow. Mulch could help insulate the soil of the plant. However, remember to remove the mulch in the spring to let the soil dry naturally by the sun even faster.
-
Pruning
Bay laurel could grow very tall, up to 60 feet. Therefore, pruning could help you control the growth as well as encourage more growth in the plant.
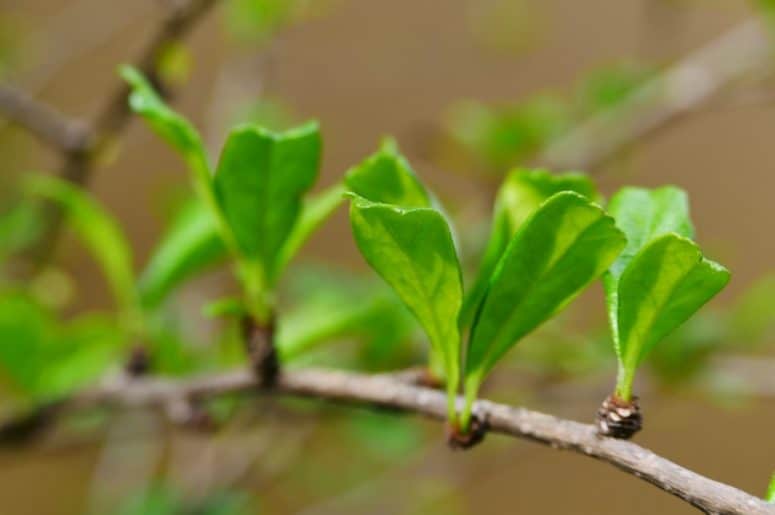
Pruning bay laurel is usually done to keep it in shape for visual purposes. Usually, people prune their bay laurel in the spring, where there are some new growth leaves.
Additionally, the leaves and the stems are sometimes browning and drying due to the frost. Therefore, pruning those damaged parts is how you can do to let the plant regrow by itself.
-
Division
One of the ways to regrow bay laurel is by dividing it through the root. The process is quite the same as doing a propagation from stem cutting.
Cut the stems and remove the flowers. After that, leave the root for some inches and put it in the glass of water. The root will grow new plants in a couple of weeks, and you can transplant them into soil afterward.
Best Methods to Grow Bay Laurel
Here are some recommended best methods to grow bay laurel at home.
Stem Cutting
The first best method to grow bay laurel, and apparently what almost all people do, is stem cutting. It means you plant the previously existed plant that you cut beforehand.
How to do it? Very simple! Cut up to 6 inches of the top stem and remove all the leaves except the full plates. After that, put the cutting in a pot. Be mindful to keep it moist and out of direct sunlight.
Growing from Seed
If you have dried seeds, which you will typically get when you purchase them, the germination chances are lower.
The steps to growing bay laurel from seeds are sowing the seeds to the flat tray filled with soil. Keep them 5cm apart and press gently. Dampen the medium inside the tray with a spray bottle.
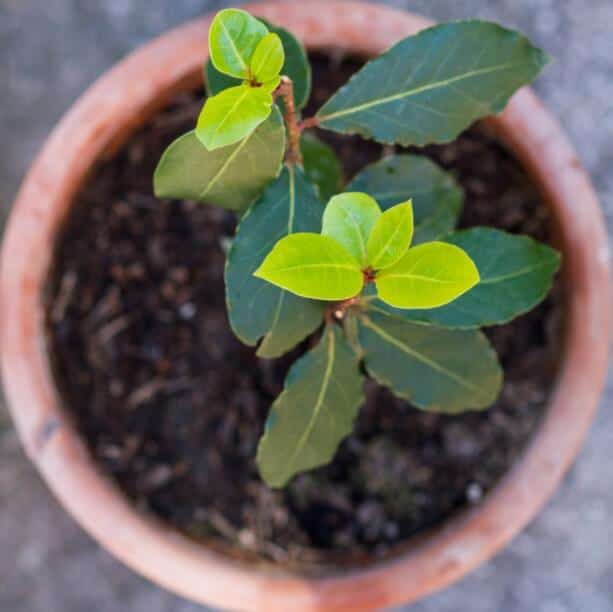
As the seeds germinating, keep them moist until slightly dried out. The germination period could be from 10 days up to 6 months. When the leaves begin to appear, you can transplant them to the pots or garden.
How to Care for Bay Laurel
Planting herbs means you are ready to treat them. That includes pests attack, disease, propagation, harvest, and storing them.
Pests/Disease
The good news is, bay laurel is pest-free! However, sometimes moths lay their eggs in between the leaves that make them stick together.
If you see such a phenomenon, gently peel them apart and remove the eggs or larva.
Propagating Bay Laurel
As for the propagation, understand that bay laurel could grow to 75 feet or 22 m tall. Be mindful of cutting the stems carefully because the branches have so much fragrance, which is beneficial for cooking.
Before propagating bay laurel, you must know that climate matters. When you reproduce bay laurel in different locations and different hardiness zones, you might want to check the temperature before propagating it.
Harvesting Bay Laurel
Since bay laurel is an annual herb, you can plant it at any time of the year. Unlike other herbs that start losing the fragrance and the taste once they bolt, bay laurel has the most aromatic fragrance.
You can harvest and use the leaves fresh or dried. Pick the leaves from the stems but never take the whole leaves at a time since that would probably discourage the plant from growing.
Storing Bay Laurel
Finally, we’re storing our tarragon!
Most people use dried bay laurel. Dried ones are what you would also always see in the store or nurseries around the city. That is because the dried bay laurel is more aromatic when dried.
Also, you can store bay laurel. In a jar, away from the sunny spot, and use it no longer after a month. Otherwise, you are going to have bay laurel leaves with no aroma.
Pro-tip, drop some silica gel into the jar where you store bay laurel. That way, you can prevent molds because silica gel absorbs moisture.