How to Grow Dill At Home (A Beginner’s Guide)
Dill is an exceptional plant. It plays an intense flavor as a herb and spice in your dish. It has feathery leaves and stiff stems, which tastes like between celery and fennel in one herb.
You will notice in dill its feathery leaves that surprisingly have an intense flavor that matches your sauces, salad, and poultry products.
Having dill grown in your house is one of the most leisurely gardening activities. Now, let’s dig into the soil, shall we?
Dill Varieties
But before we start planting dill, it’s good to know the varieties of it. There are some dill varieties you can choose based on their particular characteristics.
Here are some most common dill varieties that people often use in their culinary ingredients.
1. Dukat and Superdukat Dill
Dukat dill is the smaller kind of dill plant which is suitable for container growing. This one is very popular for its use in many different types of salad.
On the other hand, Superdukat is a cultivar that contains essential oil.
2. Mammoth and Long Island Mammoth Dill
For commercial use, Mammoth and Long Island Mammoth are the most common dill to use. That is because these dills give a punch of flavor either for each seed or leaf.
These dills appear to be larger and taller than common dill. Both could reach up to five feet or 1.5 meters in height. Also, they are the best for pickling!
3. Fernleaf Dill
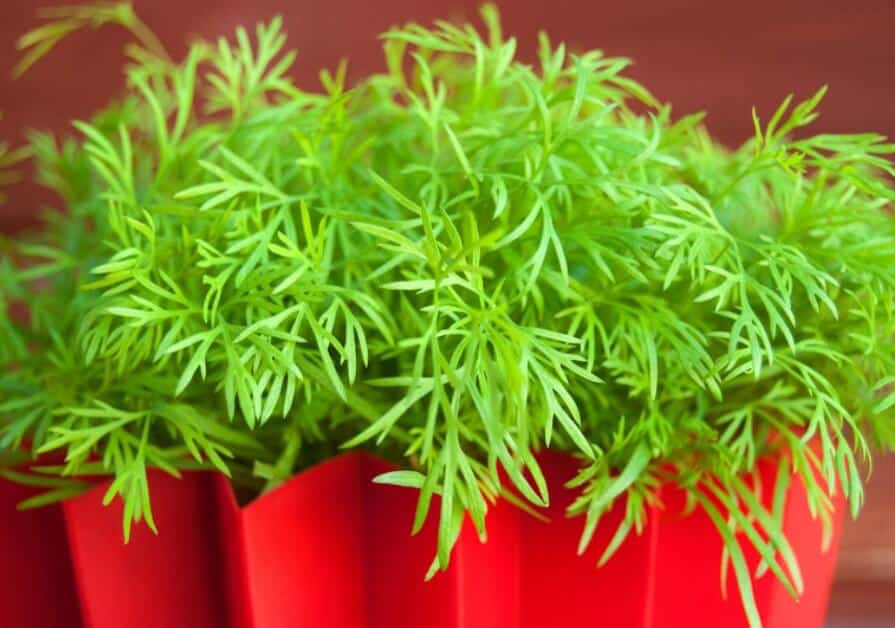
Another small variety of dill is the Fernleaf. This one tops out at around 18 inches tall and therefore famous for container growing indoors.
Many people use Fernleaf dill as floral decoration, too!
4. Bouquet Dill
One last variety of the most commonly-used dills is bouquet dill. This one is also popular for its particular fragrance from the leaves and seeds, often used for culinary purposes.
Dill Cultivation
Now you know the varieties of dill. I guess it’s time for you to learn about dill’s cultivation, starting from the soil until the divisions.
Say no more, there you go!
-
Soil Requirements
Dill likes well-draining soil mixed with organic matter. Be mindful of planting dill in the soil with an ideal pH between slightly acidic and neutral. Also, pay attention that the temperature should be between 60 and 70 degrees Fahrenheit.
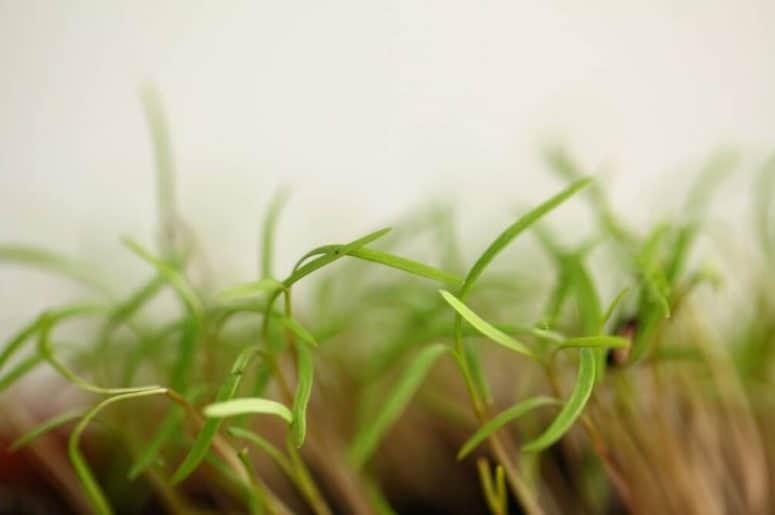
If you plant dill from seed, the temperature above is the best for the seeds to germinate. If the soil is right, then the seedlings shall appear in 10 to 14 days.
-
Sun Requirements
Full sun exposure suits dill best. You can place your dill in 6 to 8 hours of sunlight every morning.
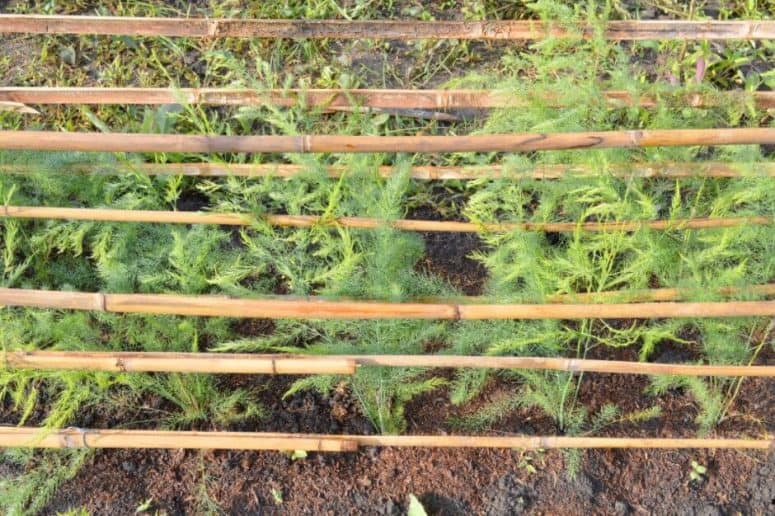
However, dill tolerates partial shade under the condition that the stems might not be as sturdy. That way, you might need to stake it.
Therefore, for container growing indoors, be mindful of controlling the sunlight exposure into the room where you place your dill in the pot.
-
Hardiness
There is some hardiness in the state where some herbs could not withstand. As for dill, this one is an annual herb. By that, dill does not have a USDA Hardiness Zone rating in particular.
Dill sows seed very quickly in a hot climate. Meanwhile, it would be probably just seed and grow during the summer for the area in cooler weather.
Additionally, the dill growing season is sometimes limited in zones nine and above.
-
Water
Once the seeds or the plants are established, dill would be tolerant of drought. You have to be mindful to water your dill only for about an inch of water every week.
Also, remember to water the soil with a watering wand or drip irrigation lines.
Like most herbs, never overwater dill. Do the watering as mentioned above, and also never sprinkle the water like overhead watering. That would be the beginning of the fungal disease in your dill.
-
Fertilizer
Dill, you see, can perform well even in poor soil. Even so, it is better to apply well-compost manure into your soil could give you more fragrant and tastier dill, either seeds or leaves. That is because dill is rich in essential oil.
Pro-tip, fertilize your soil with comfrey tea if you do have it. That would help the growth of your dill as an organic fertilizer.
-
Mulch
Mulching dill, is it necessary? That is not a bad idea, though. Mulching dill could prevent your dill from forming a crust that repels water.
Make sure to have enough mulch in the sol for a more effective result.
-
Pruning
Pruning dill could encourage more growth. However, be careful about which dill you are planting and which part of the dill you would love to harvest.
How to do it? Simple! Pinch back the flowers before they bloom open because this could help you avoid cross-pollination with other plants like cilantro, which can ruin both plants.
-
Division
Another cultivation aspect of growing dill at home is root division. Dill has a root that could bear very delicate and feathery leaves on the plant.
Rooted dill is done from the cutting plants, and you should translate the root after two or three weeks.
Best Methods to Grow Dill
Here are some common best methods to grow dill at home.
Stem Cutting
The first best method to grow dill, and apparently what almost all people do, is stem cutting. It means you plant the previously existed plant that you cut beforehand.
Do you think it is challenging to grow dill from cuttings? Some people think it is impossible, though. Well, it is actually very easy and straightforward!
Cut the dill and root it in the water. The root is going to grow fast. Once it does, start transplanting it into containers after two or three weeks, just like you divide.
Pro-tip, choose the best quality dill if you want to have another best growing dill through the cutting method.
Growing from Seed
Yes, you can grow dill from seed. Sow the seeds to the soil in the garden around April to May after the frost effect has disappeared.
Since we are talking about seeds, they need to germinate up to two weeks long. Note that the seedlings should be planted 3/4 to an inch deep. Please give it a space like 12 to 15 inches apart.
How to Care for Dill
Growing dill, or any herbs, in the house, means you have to be ready to take very good care of it. That includes the treatment for pests, diseases, propagation, harvesting, and store them.
Pests/Disease
Dill does not have severe issues with the diseases. As long as you keep the watering, soil, and the light just right, you should be fine.
Nevertheless, some insects may come and eat or attack your dills, such as tomato hornworms and parsley caterpillars.
You can spray them with a certain chemical liquid or insecticide to get rid of them. Some caterpillars won’t stay long, though; just be mindful of treating your dill very well.
Propagating Dill
Growing dill is very easy because it is a self-sowing herb. It is also an annual hern, which means you may get the seeds in the first year if your dill is set out in the early spring.
Harvesting Dill
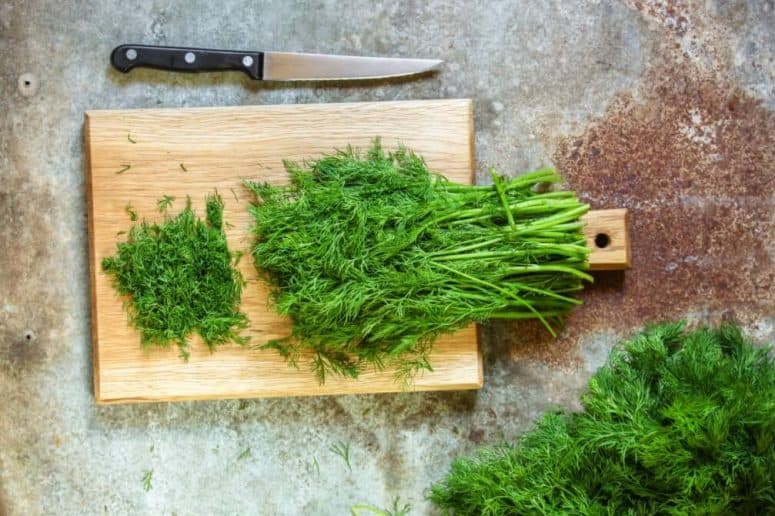
Let’s go harvesting! Harvest your dill by cutting it with scissors or snip when it has reached 8 inches tall or more. Do t before it bolts, which is around 70 days after you sow the first seeds.
If you plan to harvest the seeds in some plants, pick the mature flowers and hang them upside down with the plastic or container below, so the seeds will fall into that.
Storing Dill
Finally, we’re storing our dill! You can keep dill in any way you like. If you want to refrigerate it, fold the leaves or the stems in a damp towel and put that into plastic bags to keep them crisper.
Also, you can freeze your dill if you want. However, freeze the dill right after harvesting for the best flavor. Additionally, you can freeze the dill in butter or vinegar for flavor variants.
Some people like to dry seeds, too. You can do it by hanging the harvest result upside down in a paper bag to let it dry. You can place the dried dill in an airtight container.