How to Install Baseboard
Baseboard molding is the perfect way to enhance the overall look of the room. It instantly adds a lot of character to the place. Installing a baseboard is not as difficult as it sounds.
You can easily install it yourself by following a proper guide. It will not only save your time but you can also cut down the labor cost by doing it on your own.
Here, we are sharing a complete step by step process to install a billboard in the simplest way possible.
So, just gather your supplies and follow this guide to get your work done!
[powerkit_toc title=”How To Install Baseboard?” depth=”2″ min_count=”4″ min_characters=”1000″]Before beginning with the step by step process, let’s first discuss the important things you need to keep in mind while installing the baseboard on your own.
Things To Keep In Mind While Installing Baseboard
Always wear eye-protection gear and earplugs while using the power tools like finishing nailer or miter saw.
- Make sure that the working surface is clean and free from any dirt and debris.
- Use power tools after reading the instruction manual carefully.
- Follow all the safety instructions while handling the tools.
That’s about it. Now, let’s begin with the process:
Get Rid of The Old Baseboard
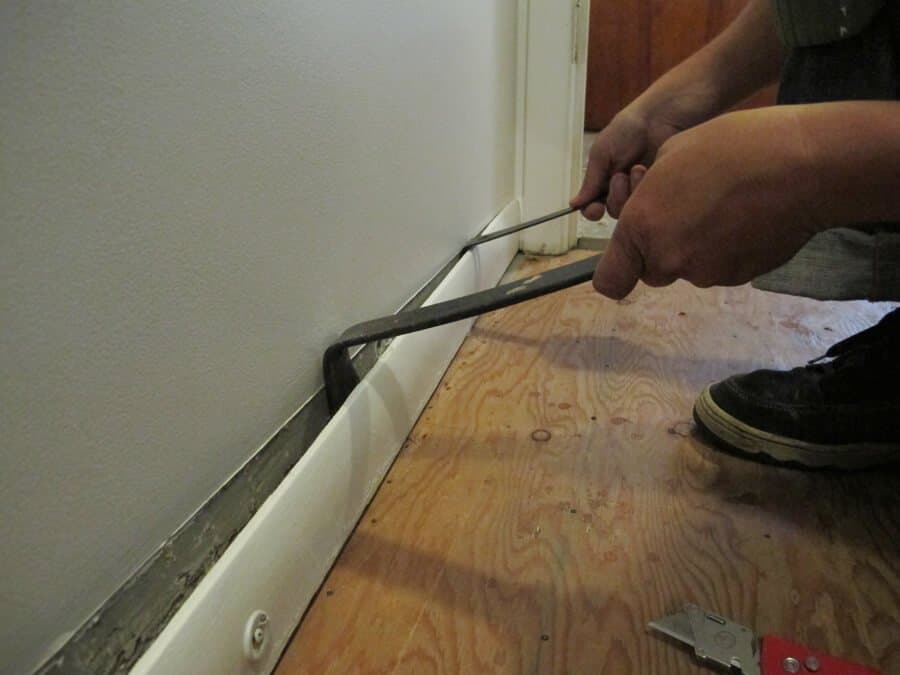
The first step is to remove the old baseboard to make room for the new one.
For this, cut the caulk and old paint from the upper edge of the trim.
After that, pull the old trim using a pry bar. Meanwhile, remove all the nails.
Finally, scrap the remaining glue by sanding the wall.
Gather The Supplies
The next step is to collect the tools and other supplies that are needed to install the baseboard.
But before that, note down the measurements of the room to save both time and money.
Here is how you can measure:
- First measure along the perimeter of the room using a tape.
- Measure the wall twice for accuracy.
- Take some extra dimensions to fit the outside corners. The good idea is to take at least 6 inches extra to total measurement.
- Also, purchase extra baseboards in case you mess with cutting.
After noting down the right measurements, you can head to any home depot to purchase your molding and other tools.
Transporting the baseboard can be a task due to the hefty size, so make sure to have the right vehicle.
Further, you will need other supplies and tools for the installation. The most useful tool is an electric miter saw.
It not only makes the cutting quick but also cuts with accuracy which is very important. If you can not afford it then rent it.
Moreover, you can also get yourself a miter box. A more economic option is to ask your home depot if they give their tools on rent.
Read also: Types of Baseboard
Prepare The Area
Shift the boards in the room where you want to install them. It will help you to have a clear view as to how you want to do it.
Start with the measurements and cut the boards for each wall. For the outside corners, cut a couple of inches extra than the dimension of the walls.
Once you’re done cutting, paint, and leave them to dry for a couple of hours. You can also leave them overnight and start the process in the morning.
Next day or after they get dry, mark the wall studs.
Level The Floor
The next step is to level the floor. You can use a 4 foot level for this purpose. If you notice that the floor is not level, then tack a piece of board to the lowest point of the room.
Next, mark horizontal lines a few inches so that the board is installed evenly at the same level.
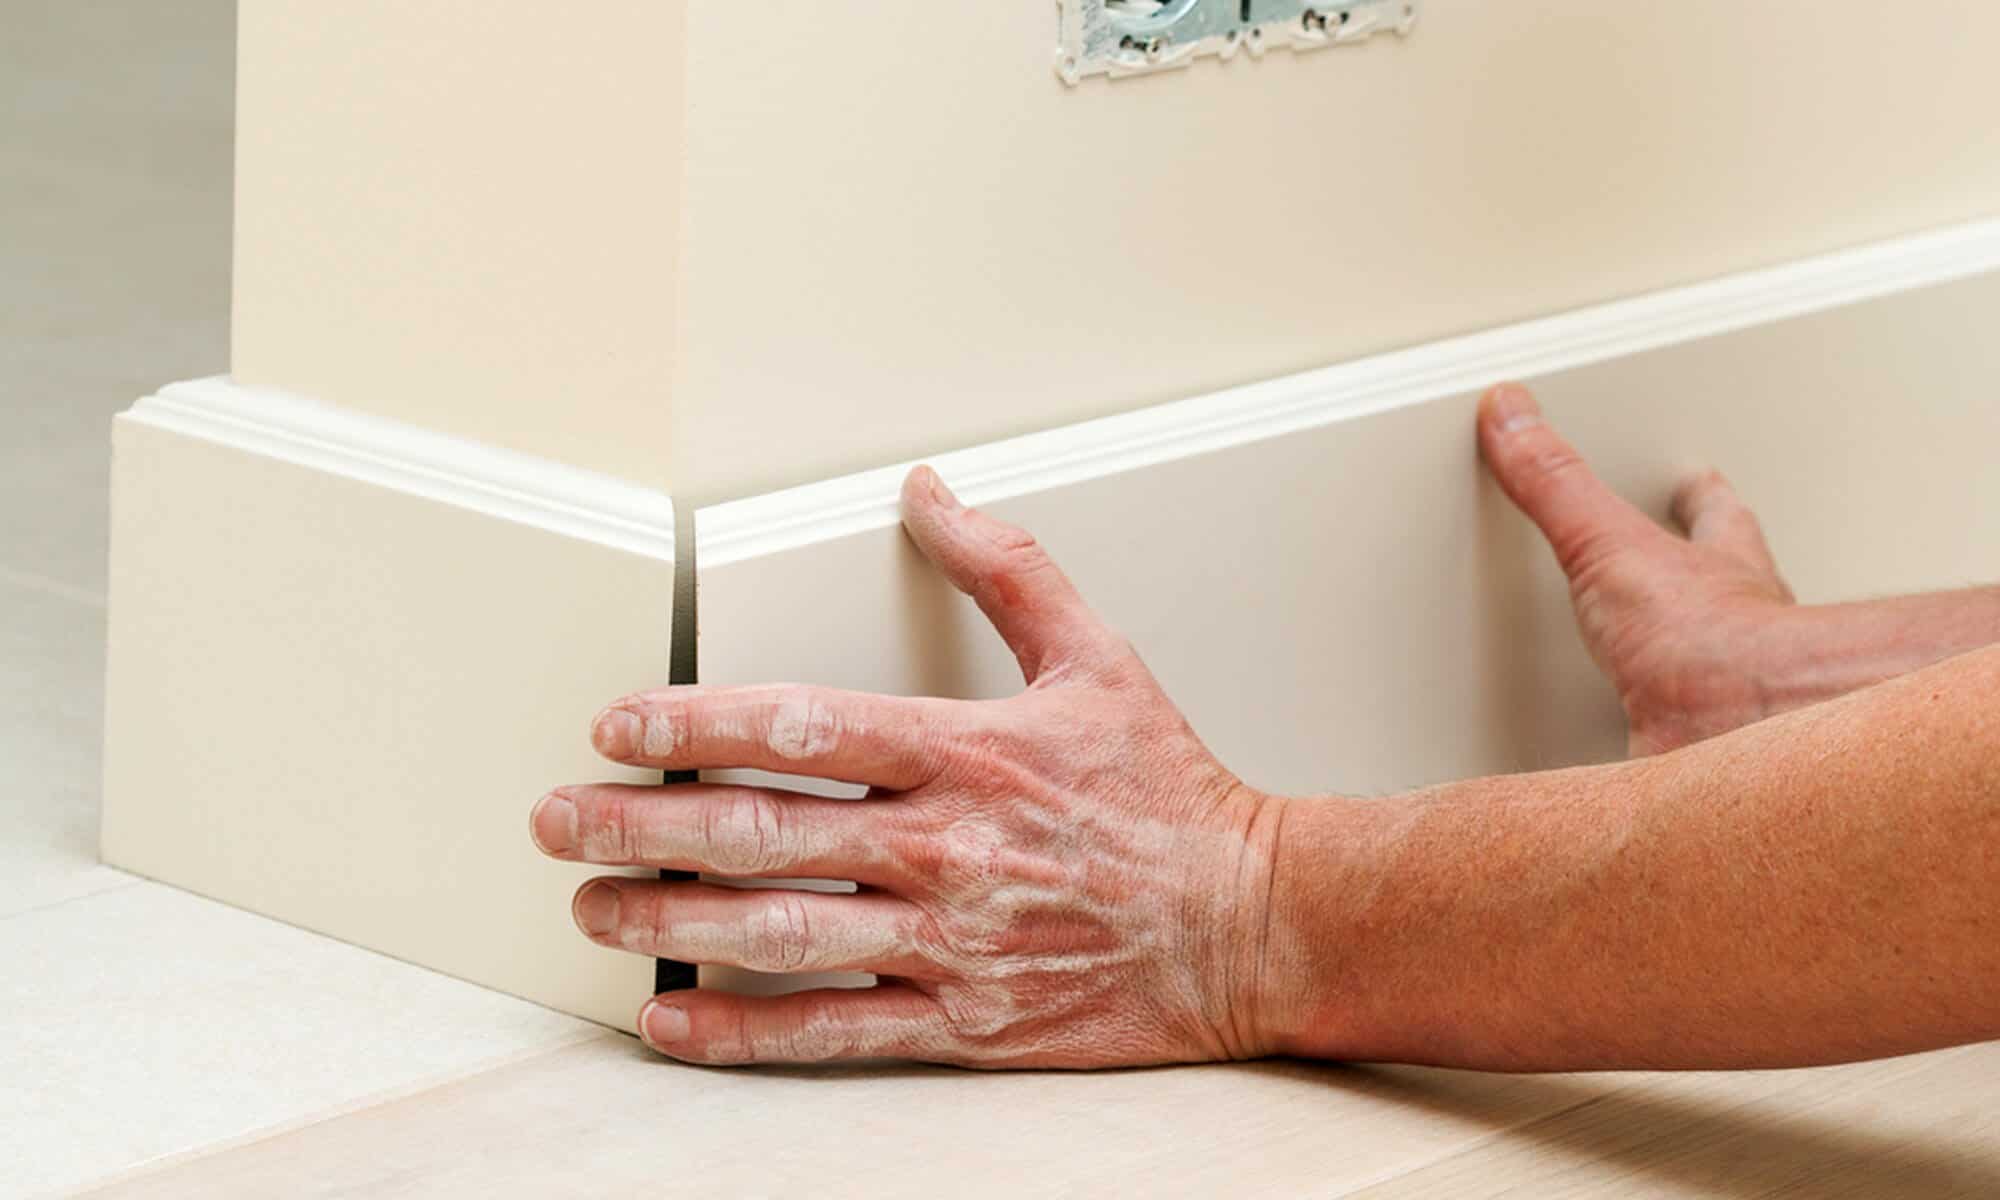
For the corners, hold the first board and level it against the wall.
Also, if you’re planning to install it before the carpet, then you have to leave about 1 inch above the floor to make space for the carpet.
Scribe The Boards If Required
If your floor is not level, then you need to scribe the board from the bottom to make it fit perfectly.
Here is how you can scribe the baseboard:
- First set the compass needles about 1/4 inches apart. The points of the compass should be even with the floor and the wall and keep the pencil slightly above the bottom of baseboards.
- Now, drag the points against the floor while drawing a horizontal line along the bottom of the board.
- Take off the board and place it on the cutting surface.
- Set the depth of the circular saw according to the depth of your baseboard.
- Now, carefully cut the board along the lines you’ve marked. Use sandpaper to level the cut.
- Check if the board fits perfectly or not. It should line accurately on the marked lines.
Work On The Outside Corner
Do this as follows:
- Place one end of the board against the inner corner of the wall and draw a standing line up the board.
- Take reference to the edge of the outside corner.
- Mark on the top of the board to cut accurately.
- Now, place the other board on the adjacent wall and mark it in the same way. However, make sure to keep the miter angle opposite to the previous one.
- Next, set the angle of the miter saw to 45 degrees and cut the board by keeping 1/16 inch long (this will ensure the accurate fit)
- Check the join by placing both the boards against the wall.
- Sand the boards to scrape some wood if the join is a bit tight.
- Once the join is perfect, apply a thin layer of good quality wood glue to the edges of the block and place the boards.
- Nail down to finish the corners.
Work On The Inside Corner Joint
You need to work the baseboards at the inside corners to make it look seamless. Alternatively, you can also join the inside corners using a miter cut.
However, the latter option will result in a less finished look so you will need to work on the finishing touches a bit more.
Do as follows:
- Measure one baseboard and cut it so that it can be fixed against the wall to work on the corners.
- Next, mark the ends that needed to be coped and keep some inches extra as the cutting allowance.
- Fix the angle of the miter saw to 45 degrees and cut the end of the board to reveal its profile.
- Use a coping saw to cut along the profile of the board. Always keep the blade at an angle to avoid any mistakes.
- Once you’ve cut the board, sand the edges for a smooth finish and check if the join is perfect.
- Nail the joins using finishing nails.
Work on Scarf and Butt Joints
The place where two boards meet on a long wall, you need to make the scarf joints.
- Fix the angle at 45 degrees and miter the ends in the opposite direction.
- Glue the surface and fix the miters by overlapping. After that, nail the piece covering the joints.
- Cut the extra baseboard and butt it like a door trim against the object.
Tackle The Problems (if any)
You may run into many problems while the installation of baseboards especially in the older homes where the walls are not square. The good thing is, you can easily fix these issues.
- For installing the baseboards on the walls that are not square, you have to adjust the angles.
- The best idea is to use a T bevel to figure out the angles for the corners of the wall.
- Alternatively, you can also use a scrap piece of board to fit perfectly and to adjust the angles.
- If you’ve accidentally cut the boards more then don’t panic. Fill the gaps using wood putty or caulk.
- However, if the gaps are bigger than 1/4 inch, then you have to adjust the angles of the corners of the baseboard according to the angle of the corners of your old wall.
Finish The Installation
If you’re using a cap or shoe molding then install it. Follow the same process for the inside and outside corners as well as the scarf and butt joints on the baseboard.
Afterward, caulk the edges and the corners as well as the nail holes.
Apply a primer on the finished baseboard and follow by a top coat of the desirable paint.
That’s all you need to do. Isn’t it simple?
[powerkit_separator style=”solid” height=””]Installing a baseboard is the quickest way to make a boring room look stylish and classy.
All you need to do is visit your local home depot store to gather the supplies and tools and follow the above-mentioned process.
You will be able to get this project done in a single day and without doing any hard work. So, don’t think much and plan the baseboard installation right away!